
Classes
Four misfits who only work as a crew
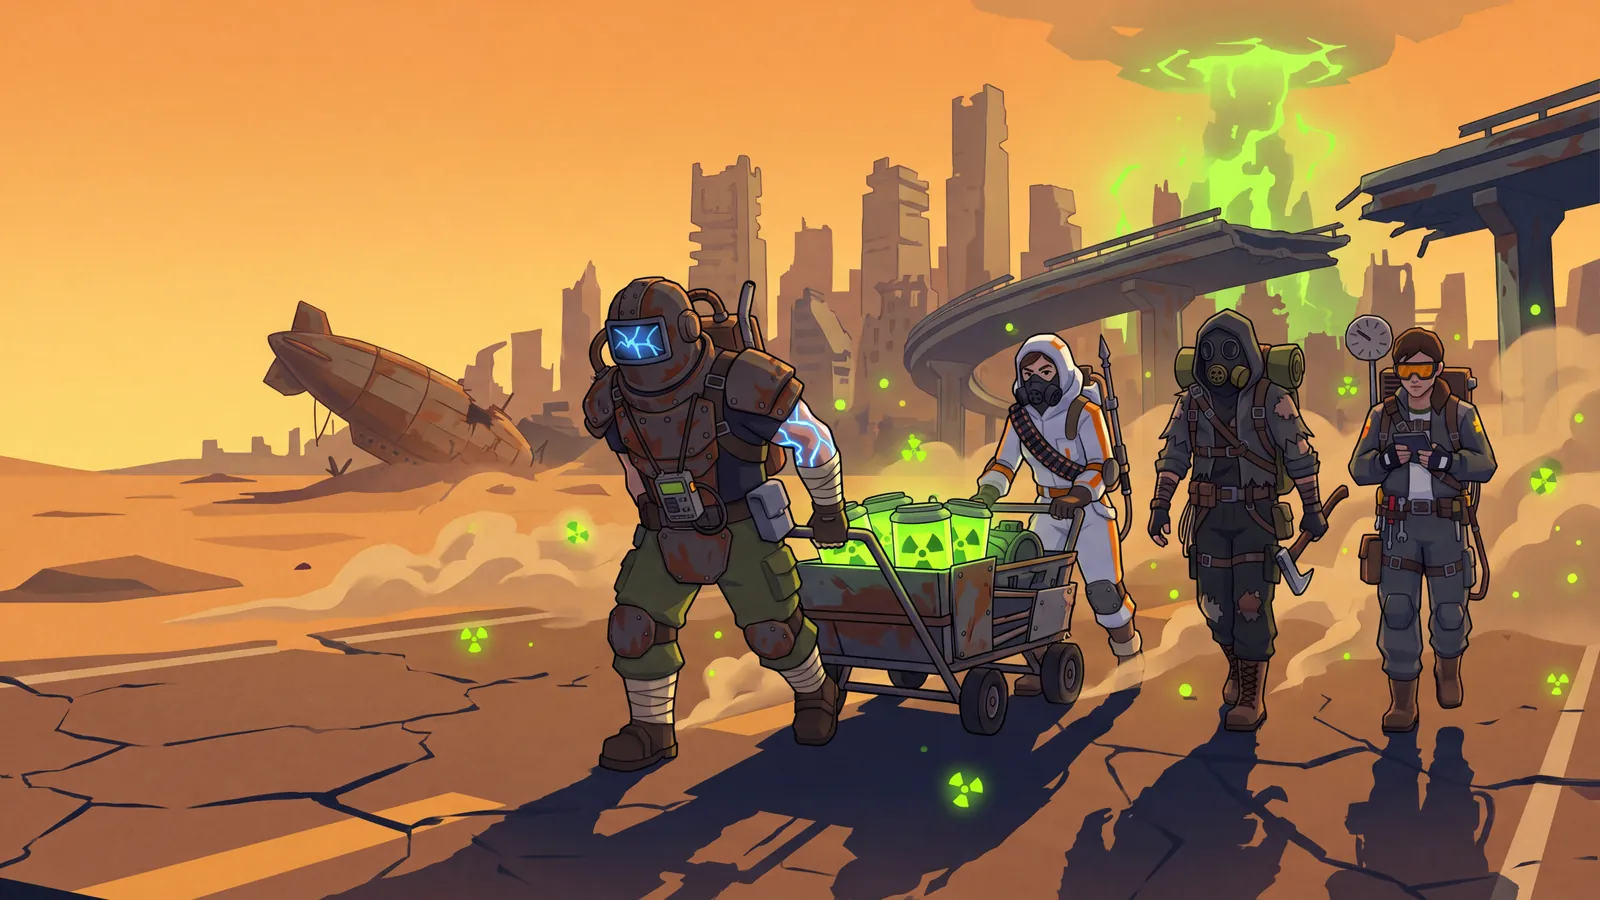
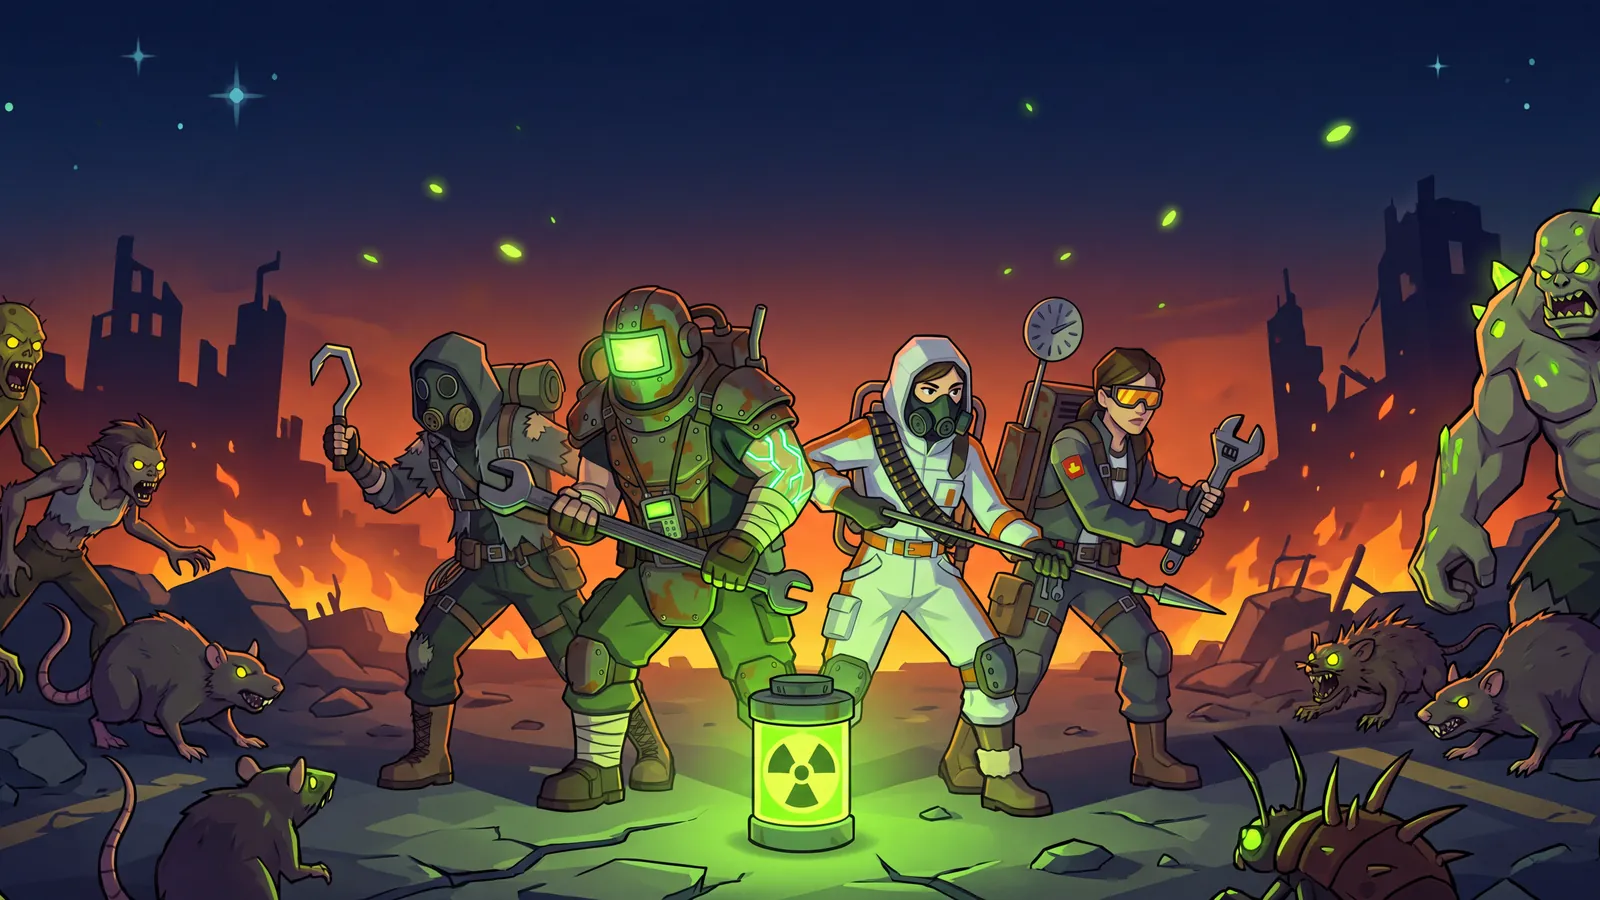
DOSE has four classes, and each one is built to cover what the others can't. The Glowstick holds the horde, the Medic keeps everyone standing, the Scavver cracks the armour and the Rigger sets the street on fire. Bring all four and the combos do a lot of the heavy lifting.
01
Four classes, one crew
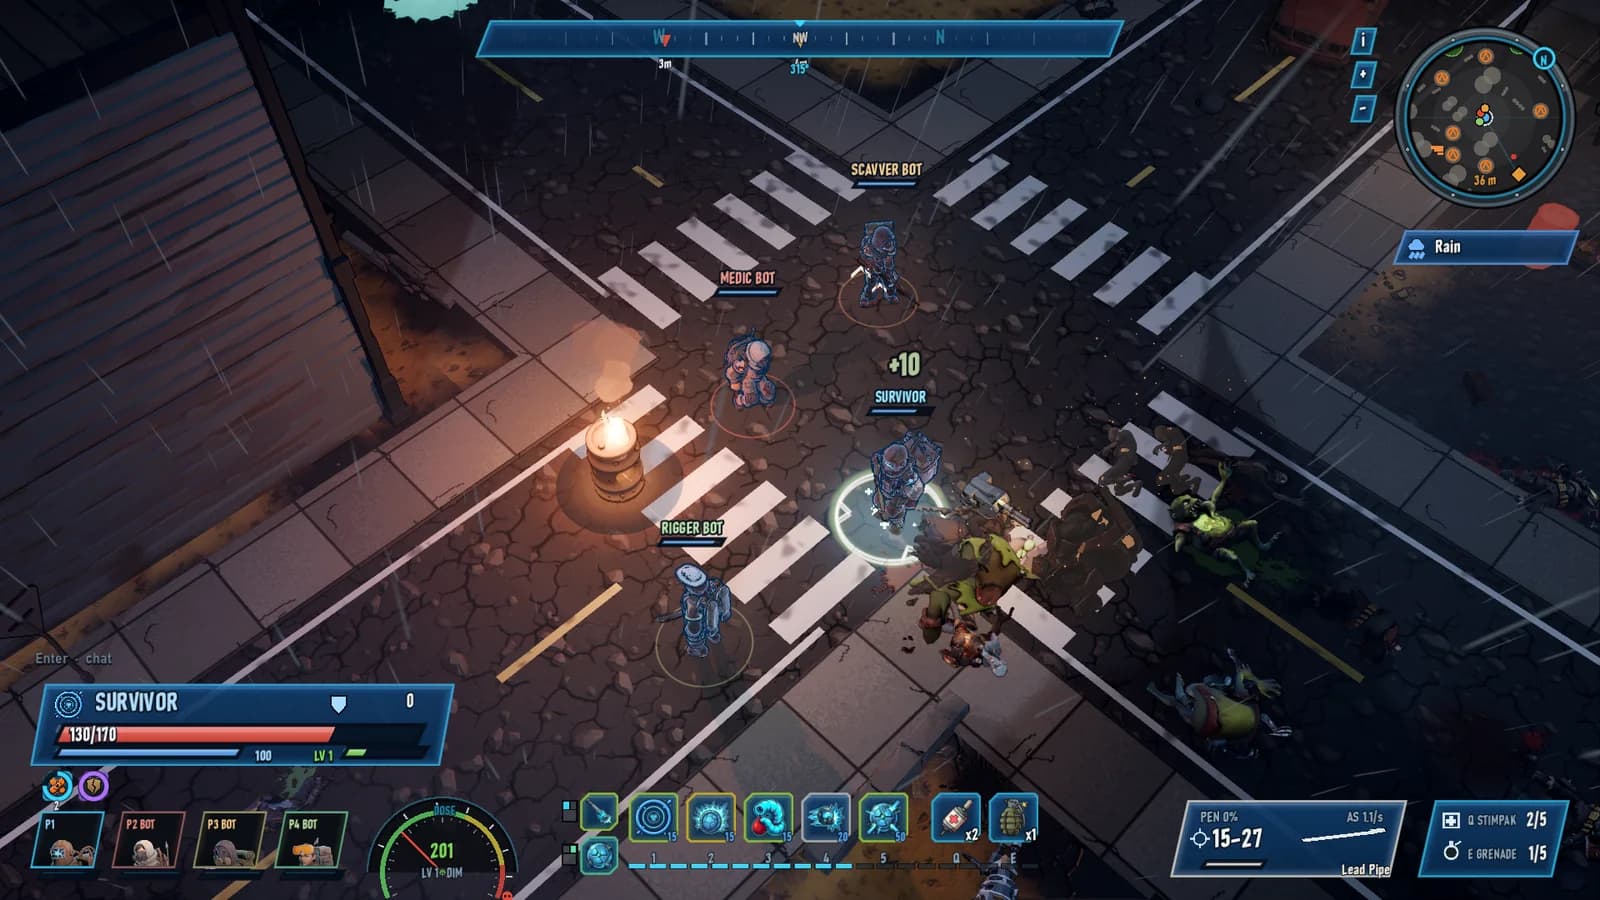
Every class in DOSE owns a job, and the jobs lock together. Fire burns husk swarms. Armour-piercing shots strip Brutes. Stuns catch Spitters and Raiders. Somebody has to hold the line while all that happens. You can play any class on its own, but a full crew covers each other's blind spots, and the lobby warns you if you've left one open.
Each class has five skills on the number keys, a basic attack and a free right-click ability. Most skill slots have an alternative you can swap in before a run, so two Scavvers in the same crew don't have to play alike. Neither of them will admit the other one is better.
Glowstick
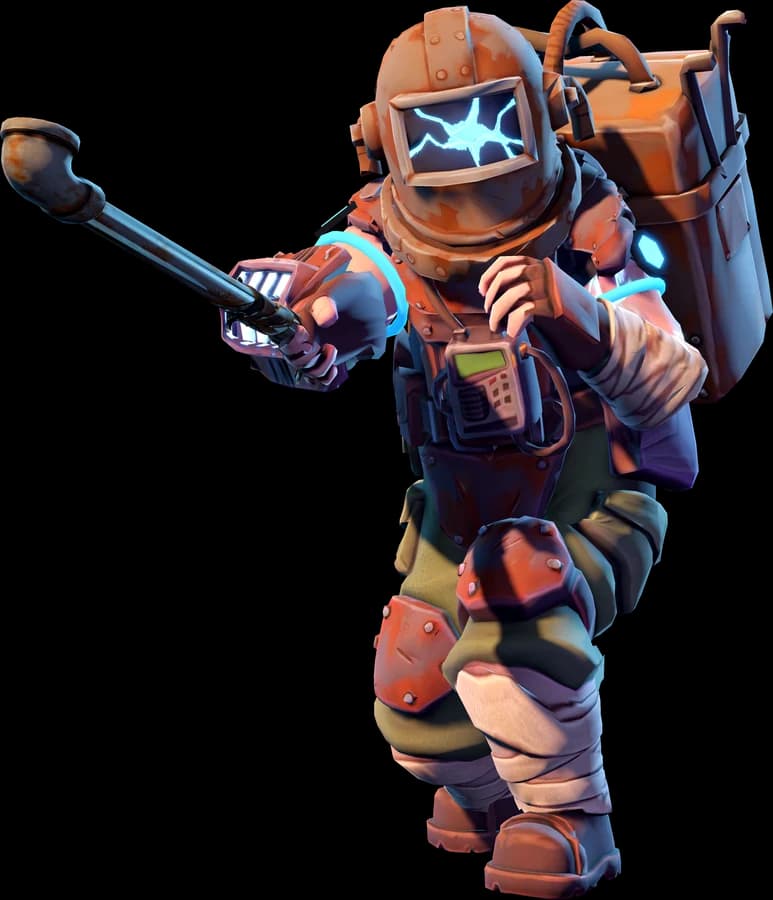
tank, radiation, taunts
Medic
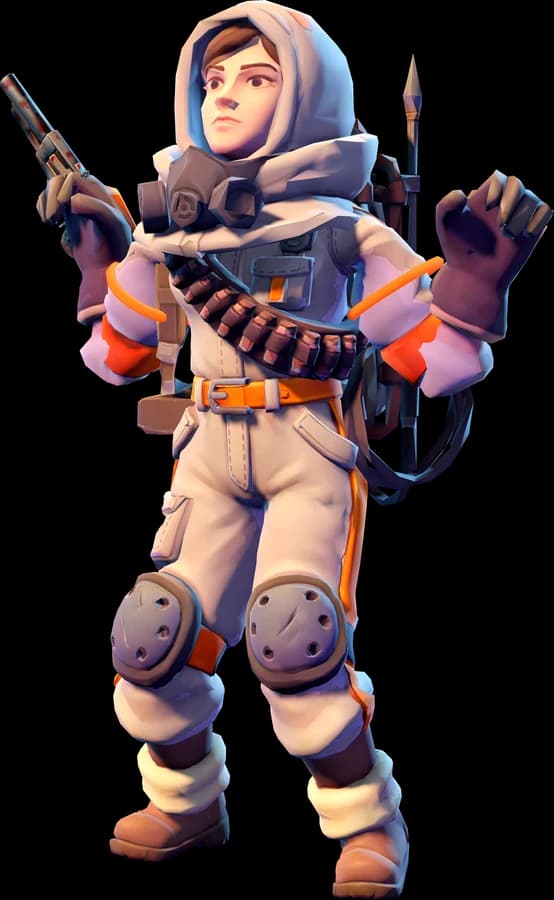
support, heals, stuns, revives
Scavver
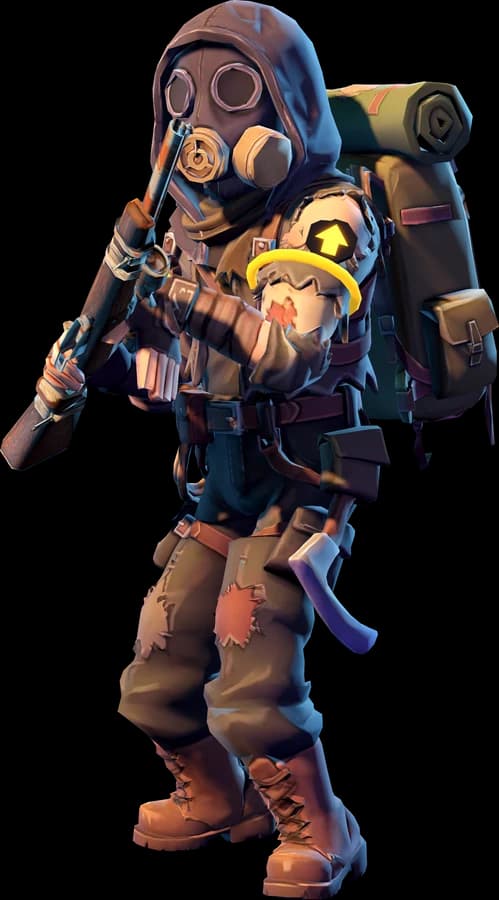
damage, armour-piercing, crits
Rigger
engineer, fire, turrets, mines
02
Glowstick: the one they come for
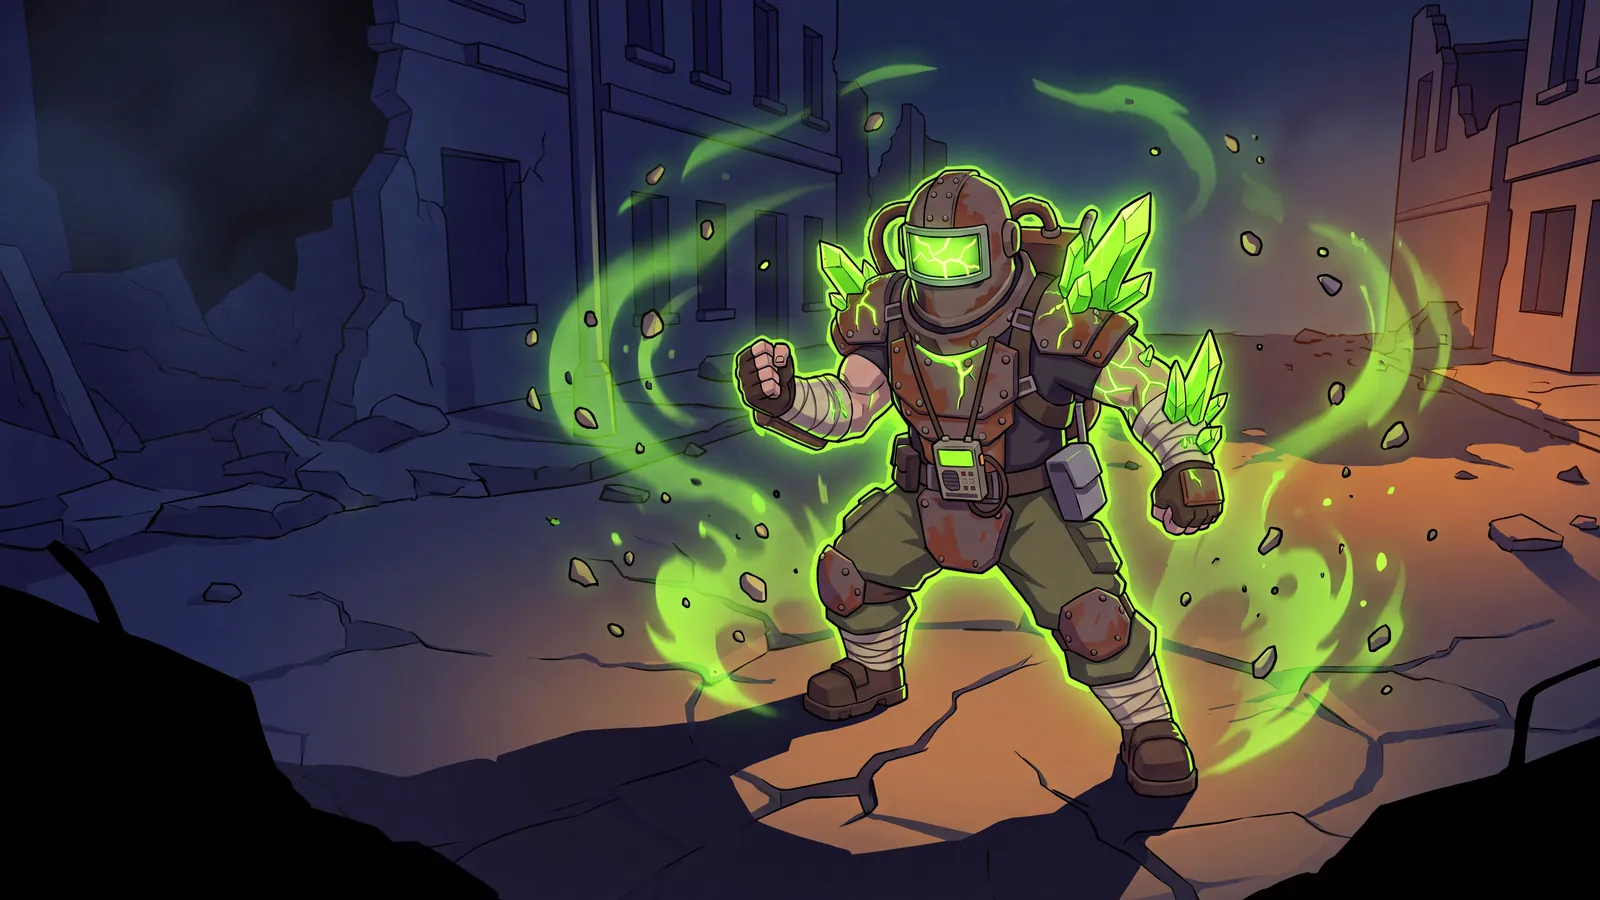
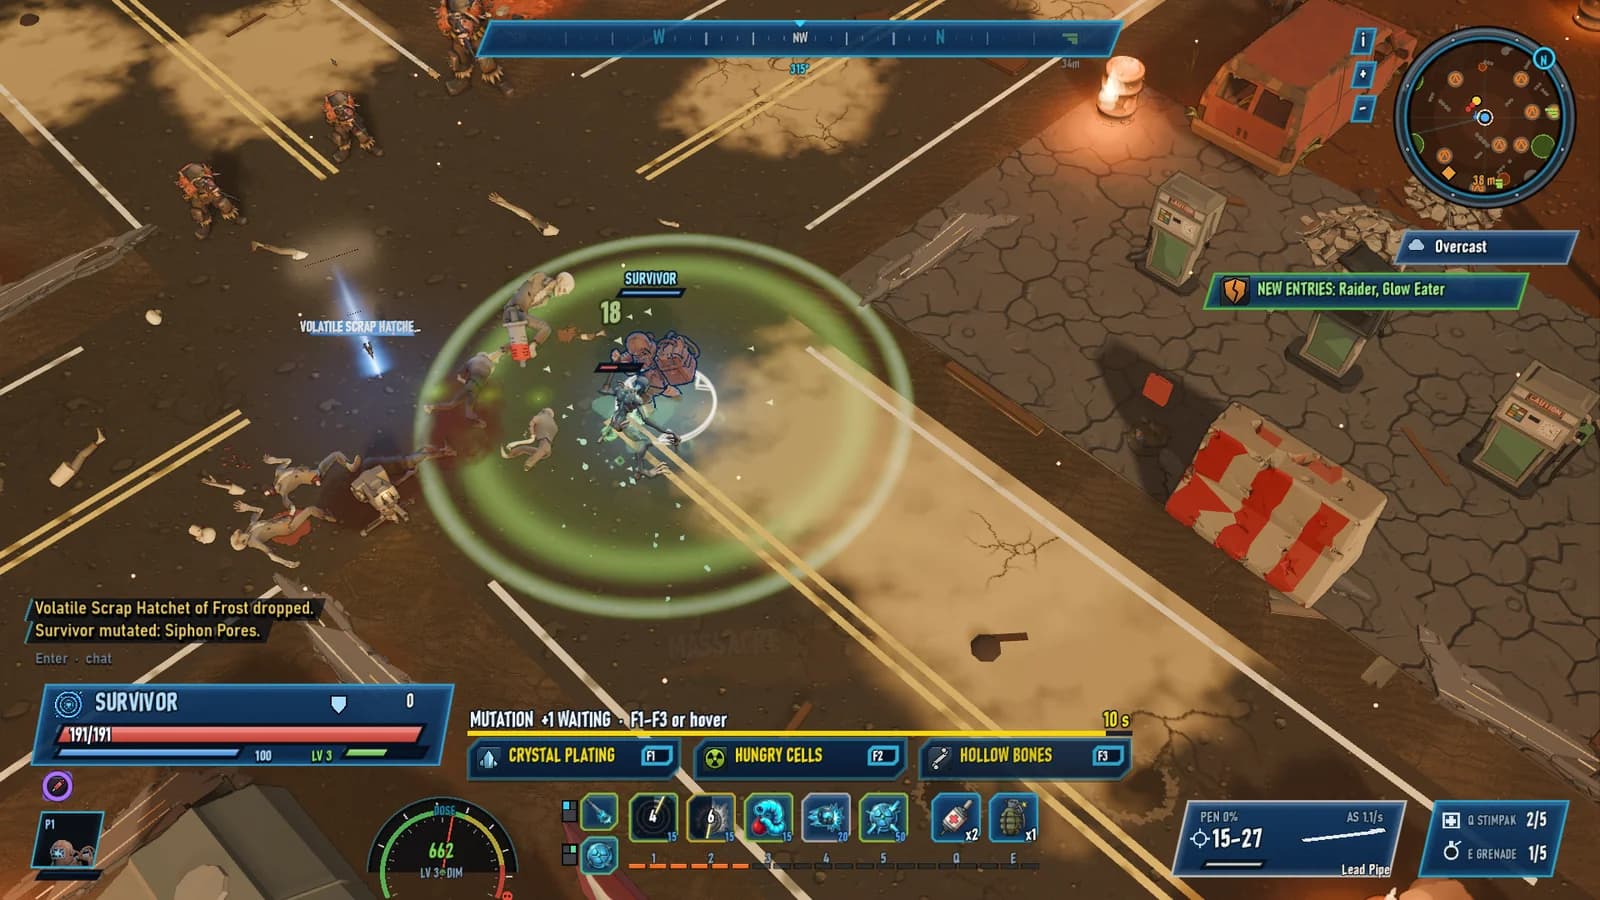
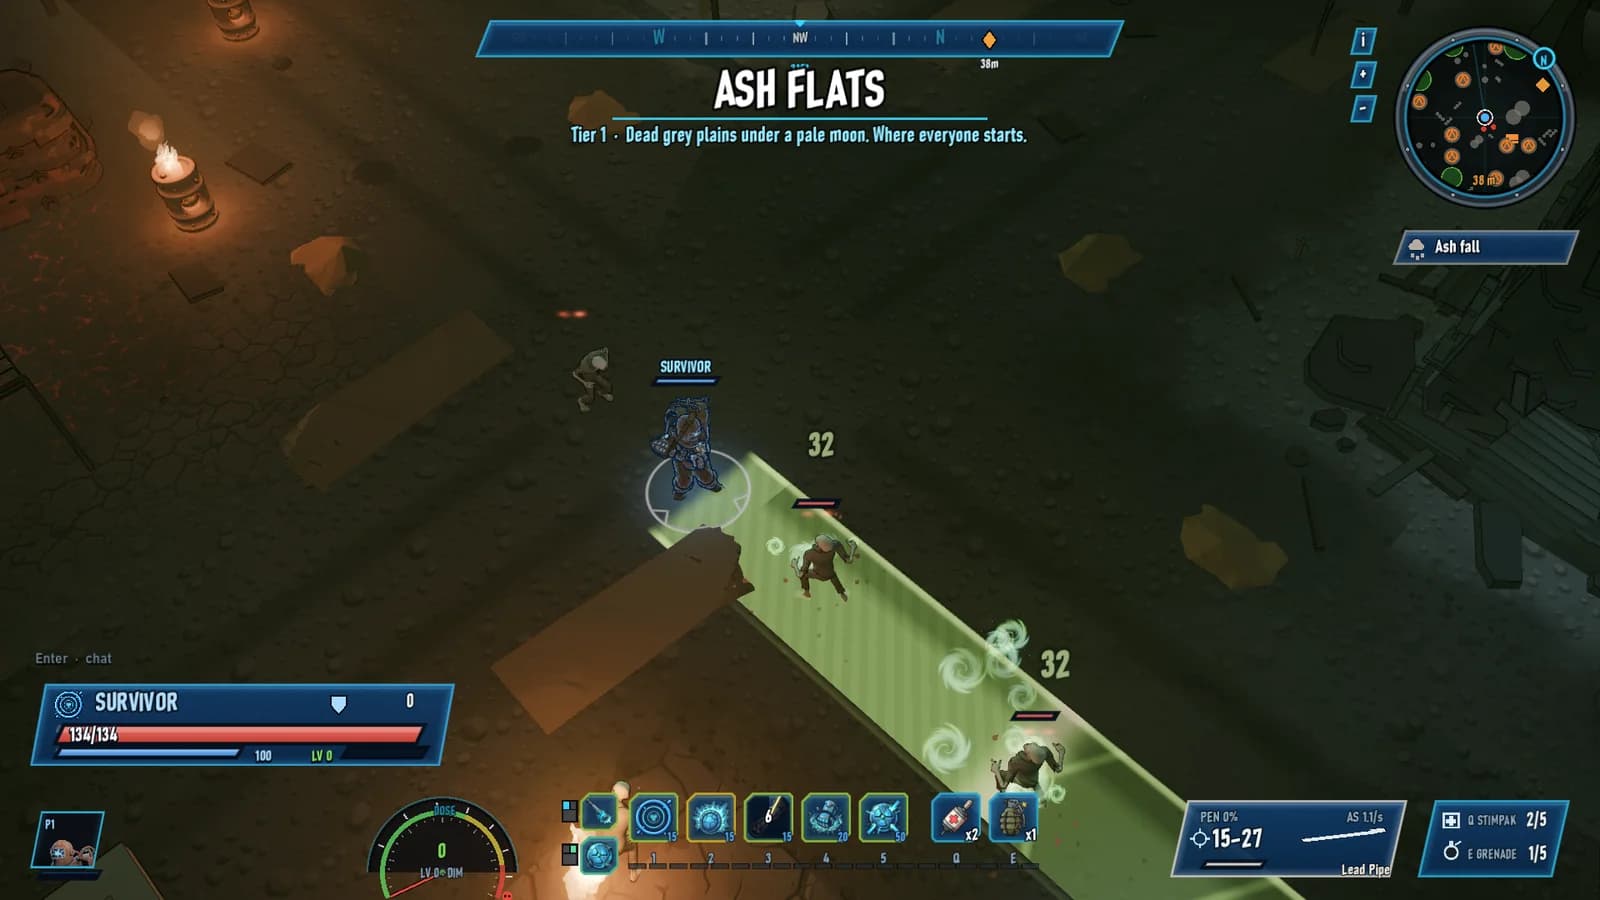
The Glowstick wears a riveted diving helmet with a glowing visor and swings a lead pipe. It has the most health in the crew, and its whole job is being looked at. Flare Up taunts everything nearby and hardens you with Guard. Rad Pulse irradiates the pack around you, and even a plain swing leaks radiation that half-ignores armour.
Mutants hunt the brightest light, and the Glowstick is happy to be it. Swap in Glowstick Siphon and you pull dose out of your crewmates and into yourself, which makes you the lightning rod on purpose. Critical Mass, the big nova, gets nastier the more dose you carry. Gamma Lance is there for anyone who likes their radiation in a straight line.
- Skills: Rad Pulse, Flare Up, Leech, Meltdown Charge, Critical Mass
- Swap-ins include Gamma Lance, Fallout Cloud and Glowstick Siphon
03
Medic: keeps the crew upright
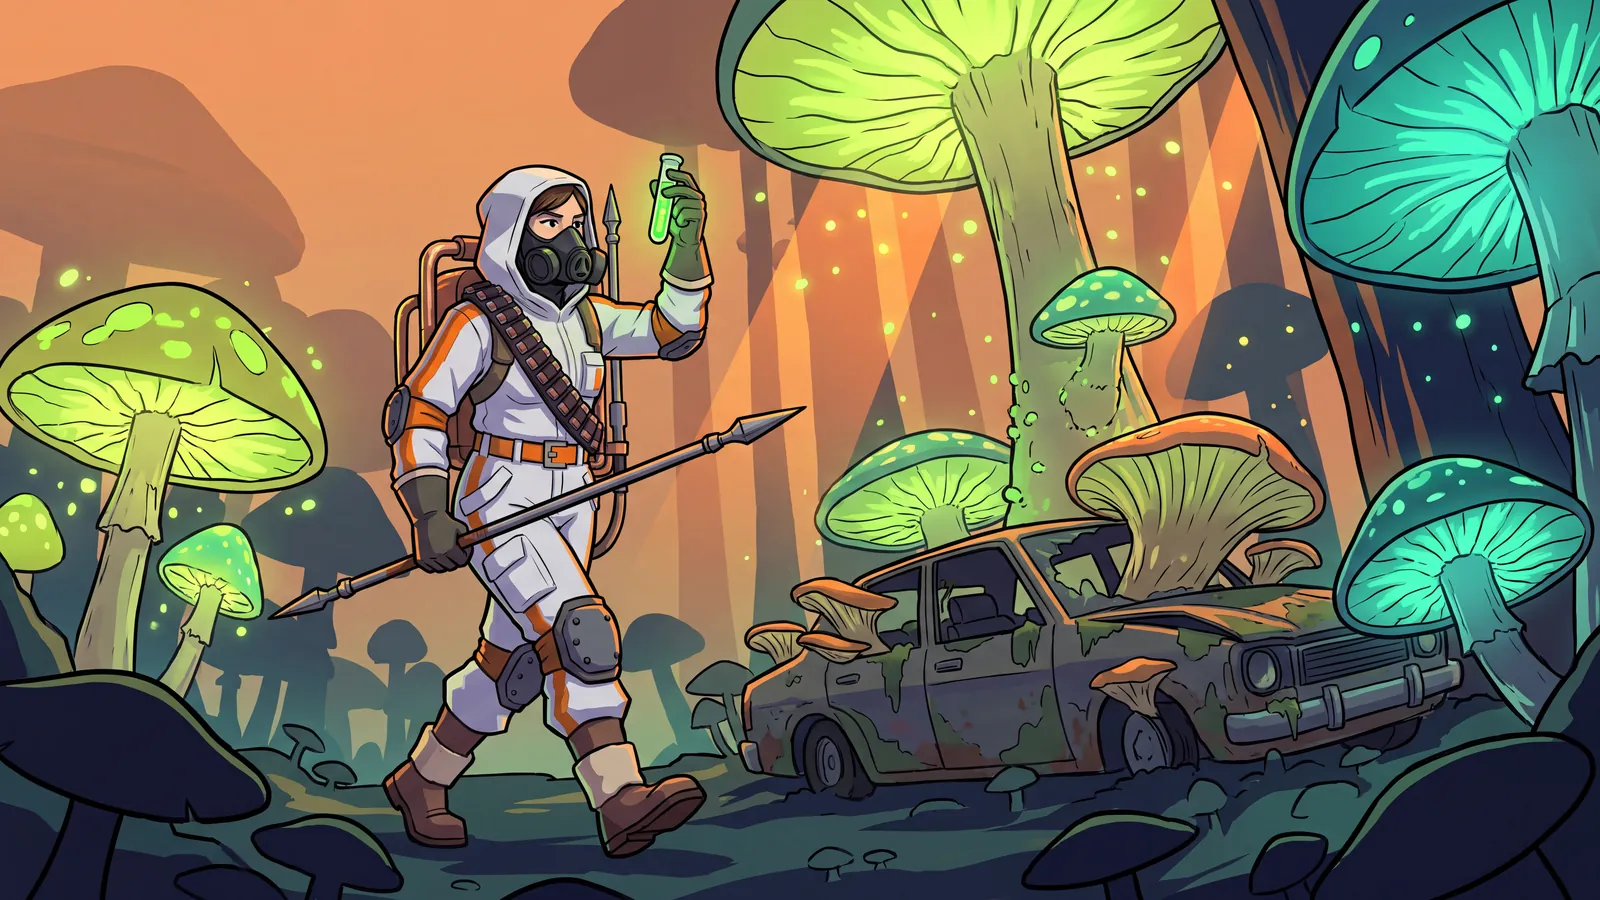
The Medic wears a white and orange hazmat suit, carries a pistol and is the squishiest survivor in the crew, so they play from a few steps back. Sedative Dart gasses a small area and stuns everything in it. Stim Shot patches up one ally, Rad-Away Field heals and cleanses a whole patch of ground, and Adrenaline hastes whoever needs to hit faster.
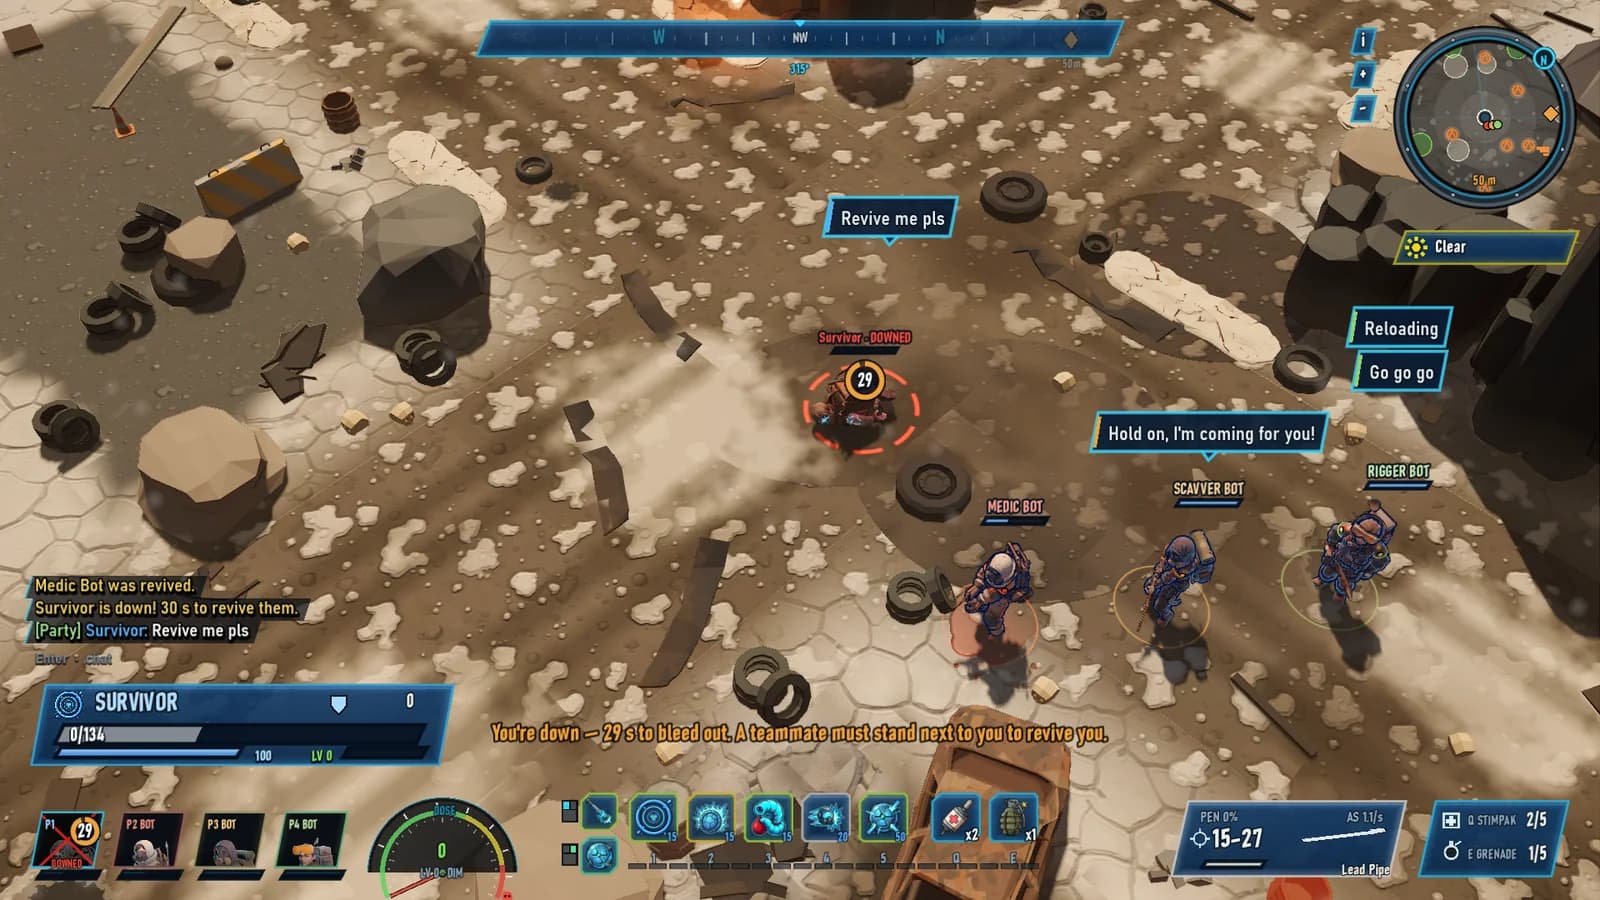
Second Wind is the button everyone remembers. It heals every ally nearby and pulls the downed back up at once, which turns a wipe into a funny story. Medics also shrug off rad sickness a little better than the rest, and their heals land harder on a Glowstick. Swap in Transfusion to draw dose out of a crewmate who's about to cook.
- Skills: Sedative Dart, Stim Shot, Rad-Away Field, Adrenaline, Second Wind
- Unlocks at the Exposed season rank
04
Scavver: armour is a suggestion
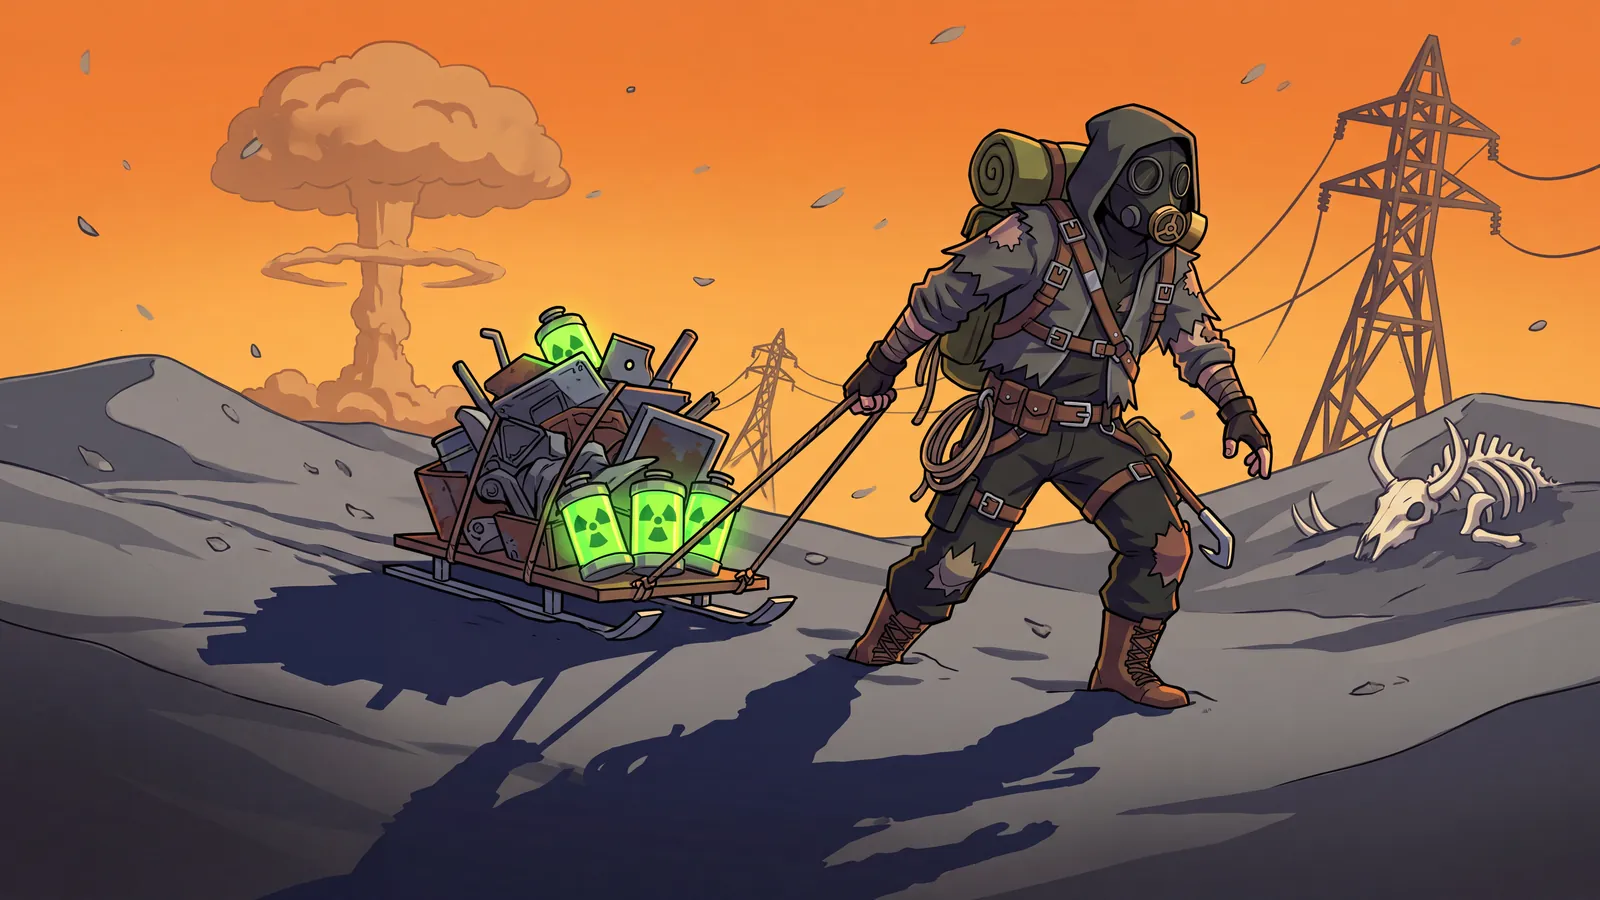
The Scavver wears a hood, a gas mask with a brass filter and a rucksack full of things nobody else wanted. The rifle does the talking. Aimed Shot ignores armour and leaves the target Exposed, so the whole crew hits it harder for a few seconds. Deadeye puts six armour-piercing rounds into one unlucky target, which is usually a Brute or a boss.
Anything stunned or rooted counts as Caught, and the Scavver crits Caught targets every time. Pair one with a Medic's Sedative Dart and the maths gets very short. Bear Trap sets up its own catches, Smoke Bomb gets you out when the plan falls apart, and Flare Mark tags a monster so the whole crew hits it harder.
- Skills: Aimed Shot, Scatter Blast, Bear Trap, Smoke Bomb, Deadeye
- Swap-ins include Ricochet, Flak Shell and Grapple Hook
05
Rigger: fire, turrets and bad ideas
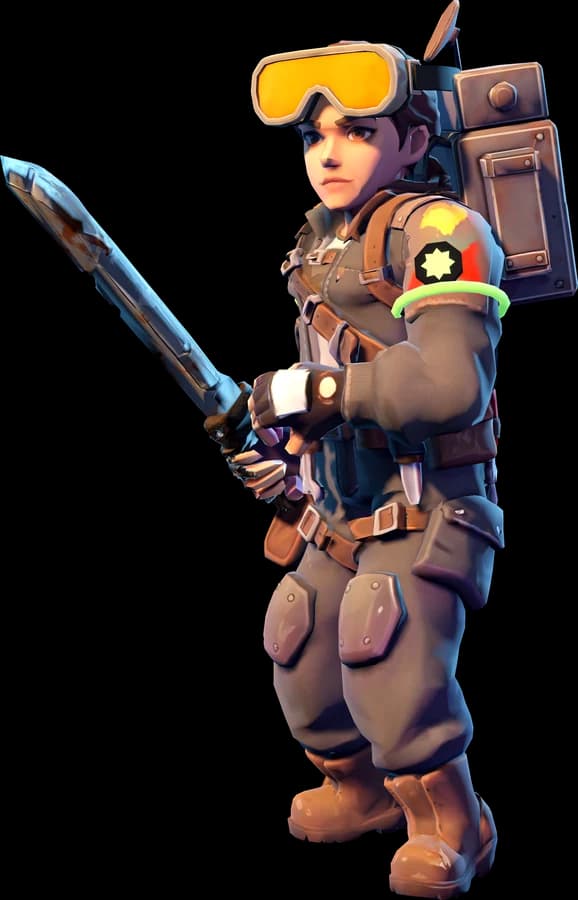
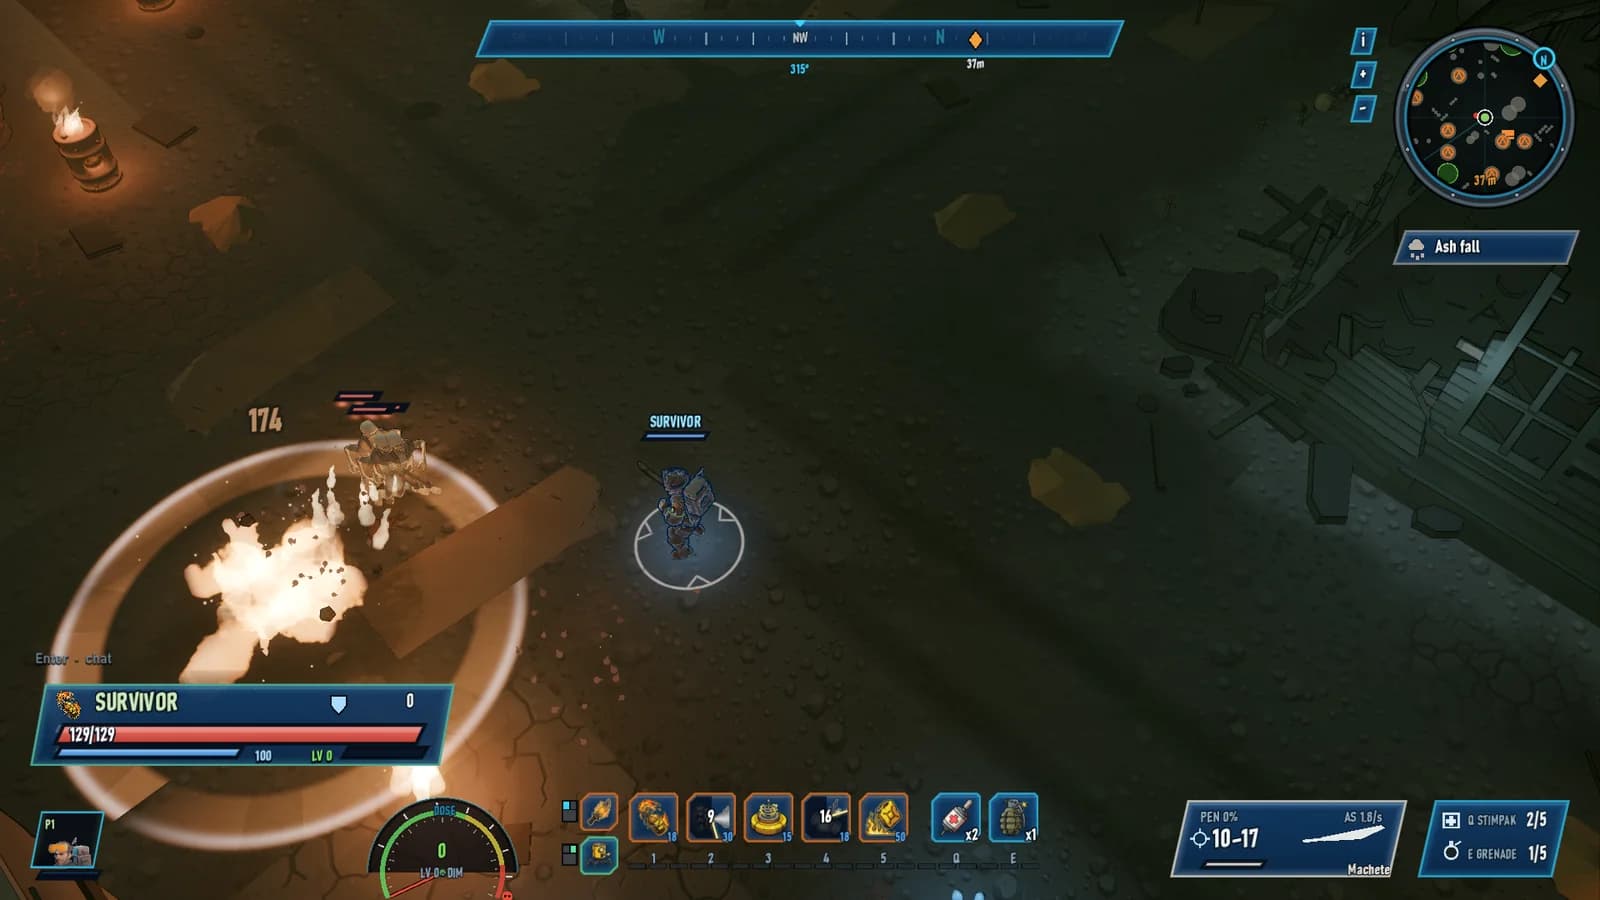
The Rigger wears welding goggles and a generator backpack with a glowing window, and fights with a machete that has a heating coil wired into it. Most of the work happens after the Rigger walks away. Auto-Turret shoots whatever wanders past, Tesla Mine stuns what steps on it, Scrap Barricade plugs a gap and Molotov leaves a pool of fire behind.
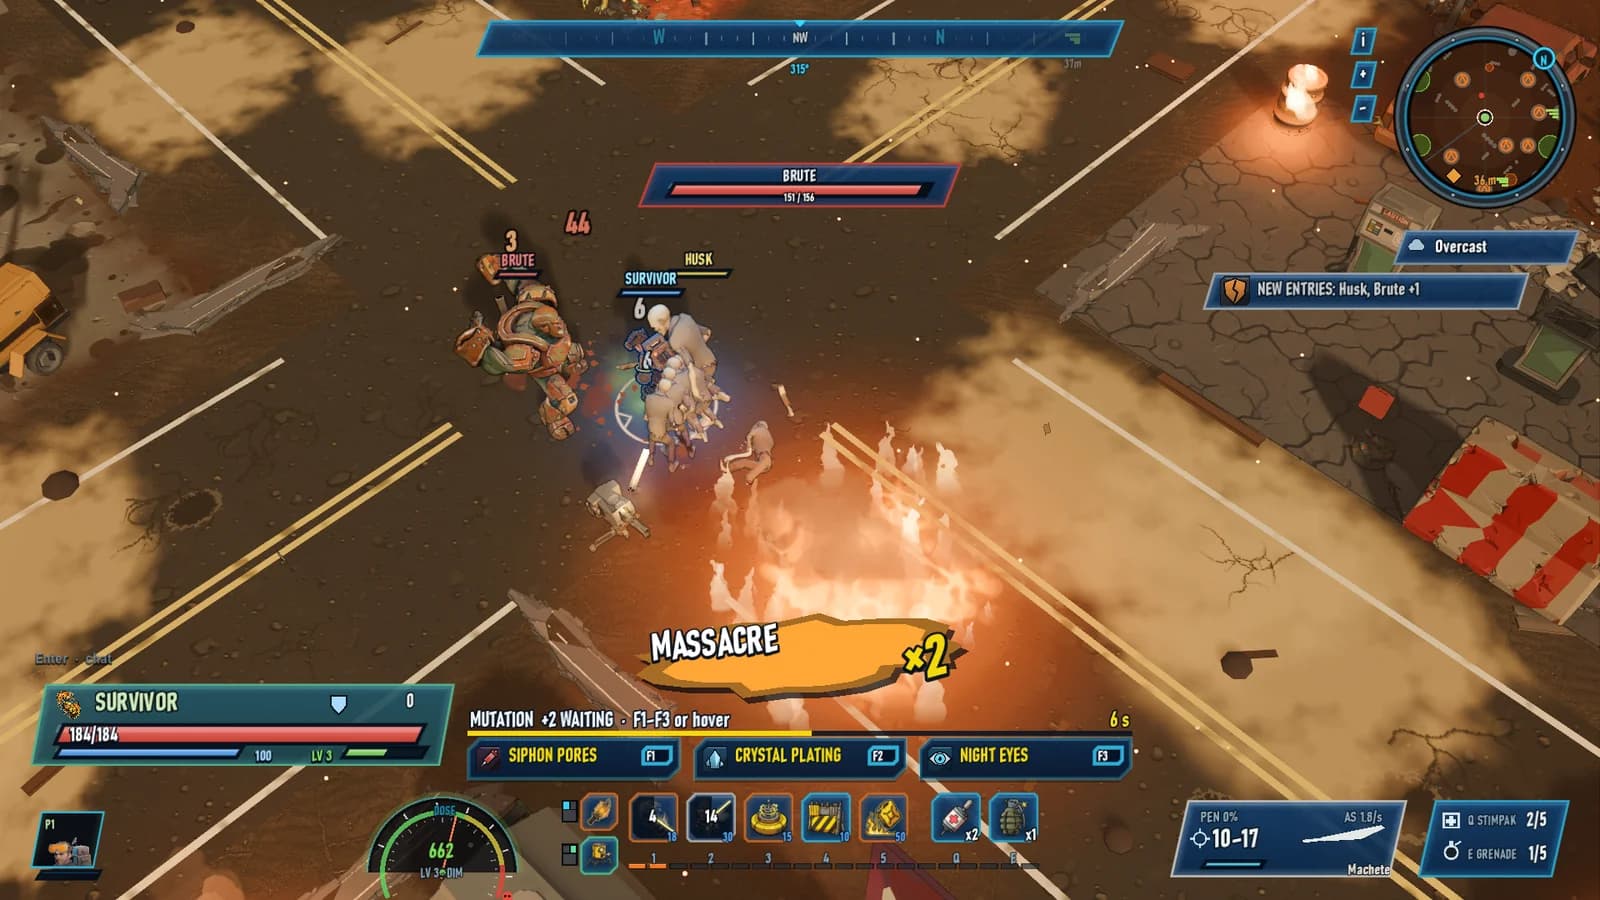
Husk swarms take double damage from fire, so a crew without a Rigger has a bad time when they show up. Napalm Line draws a wall of flame across the street. Glow Bait pulls a pack onto a hot canister before it blows. Throw fire on anything the Glowstick has irradiated and it goes off in a Meltdown.
- Skills: Molotov, Auto-Turret, Tesla Mine, Scrap Barricade, Napalm Line
- Unlocks at the Hot season rank
06
Combos that need two people
The classes were built around four combos, and each one needs two different survivors doing their part. The game spells them out on the skill tooltips, so nobody has to read a wiki in the middle of a fight. Once a crew finds them, fights that used to feel messy start to look planned, even when they very much weren't.
- Meltdown: the Glowstick irradiates, fire detonates
- Exposed: the Scavver strips armour for everyone
- Caught: stun or root it, then the Scavver crits
- Lightning Rod: the Medic's heals land harder on a Glowstick
07
Eight survivors, and bots for spares
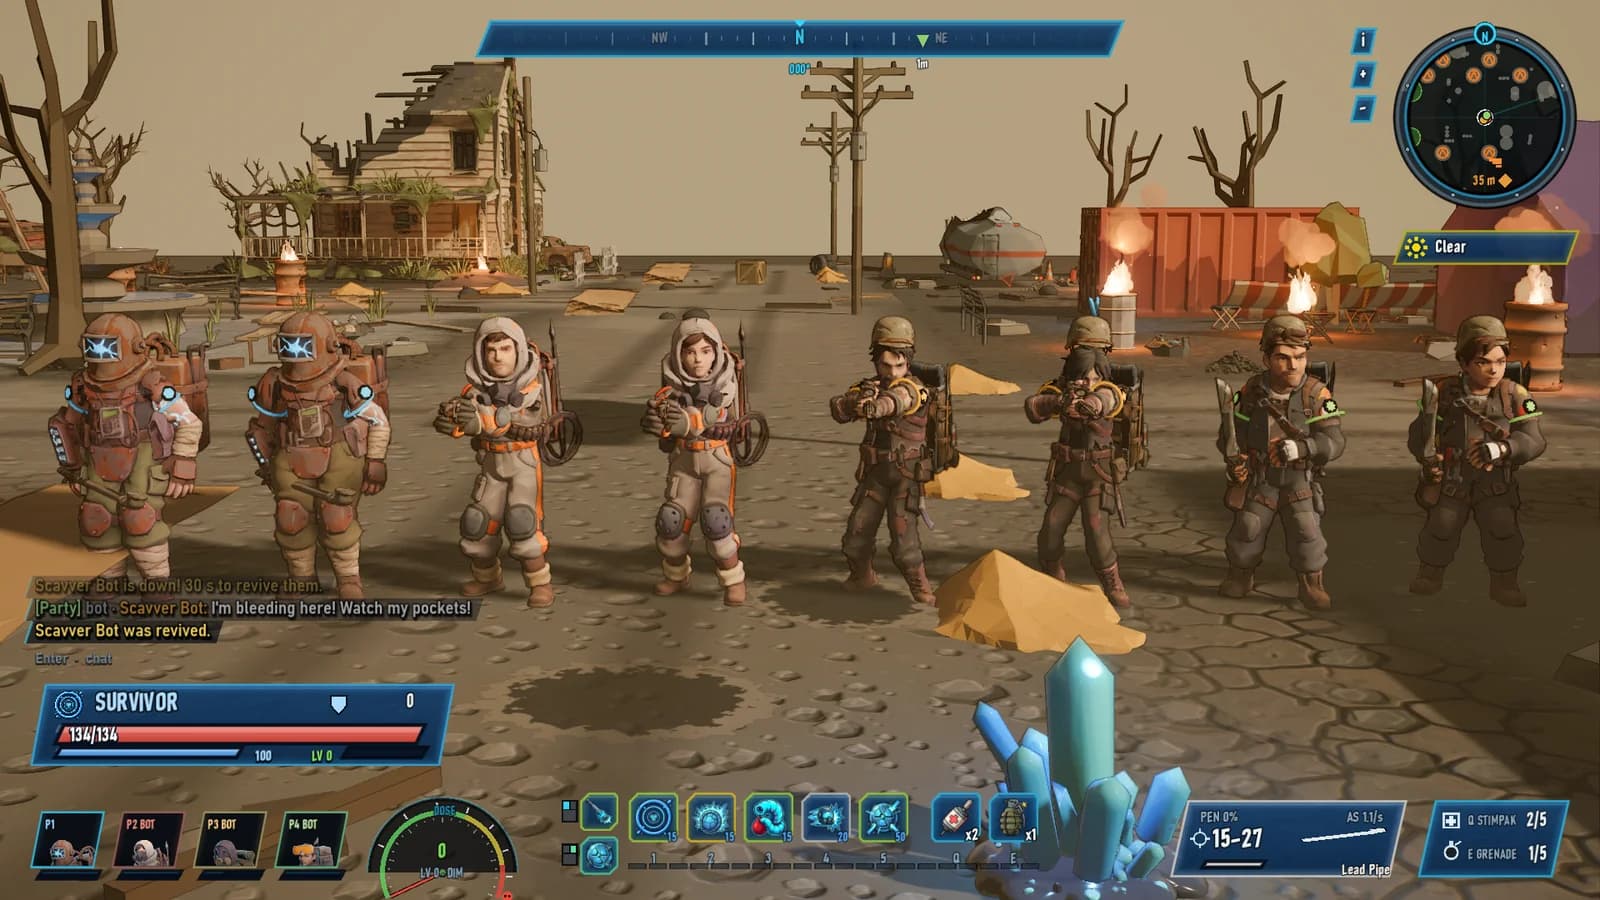
Every class comes as a male and a female survivor, so you're picking from eight characters. Within a class they play the same, and the choice is about who you want to look at for the next hour. Each one has a silhouette you can read from the isometric camera, which matters a lot when half the street is on fire.
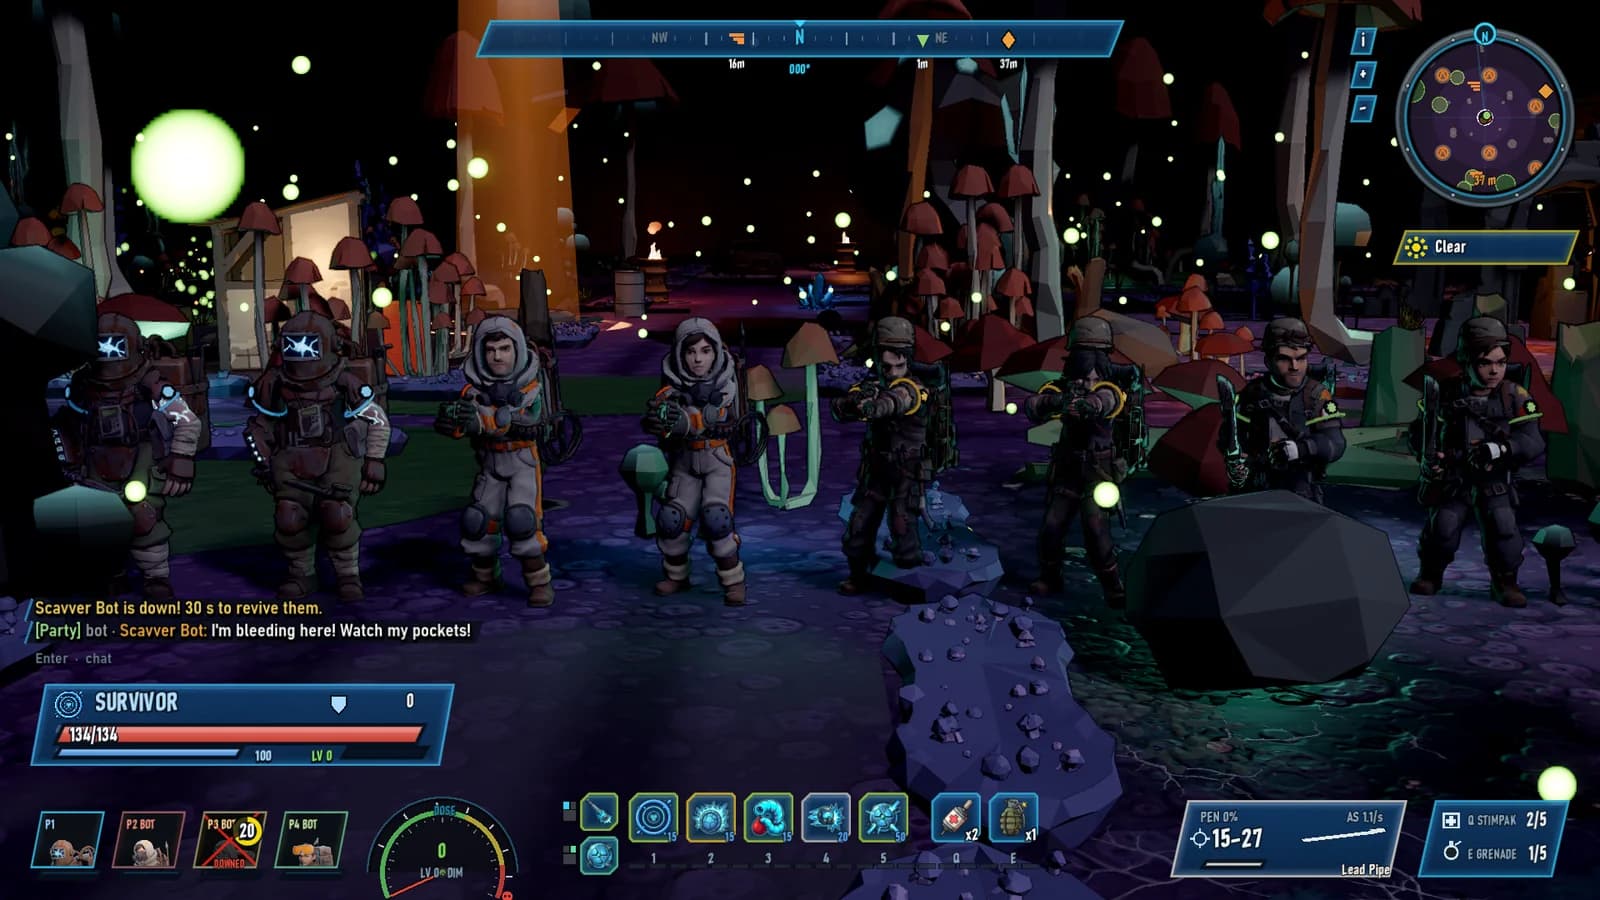
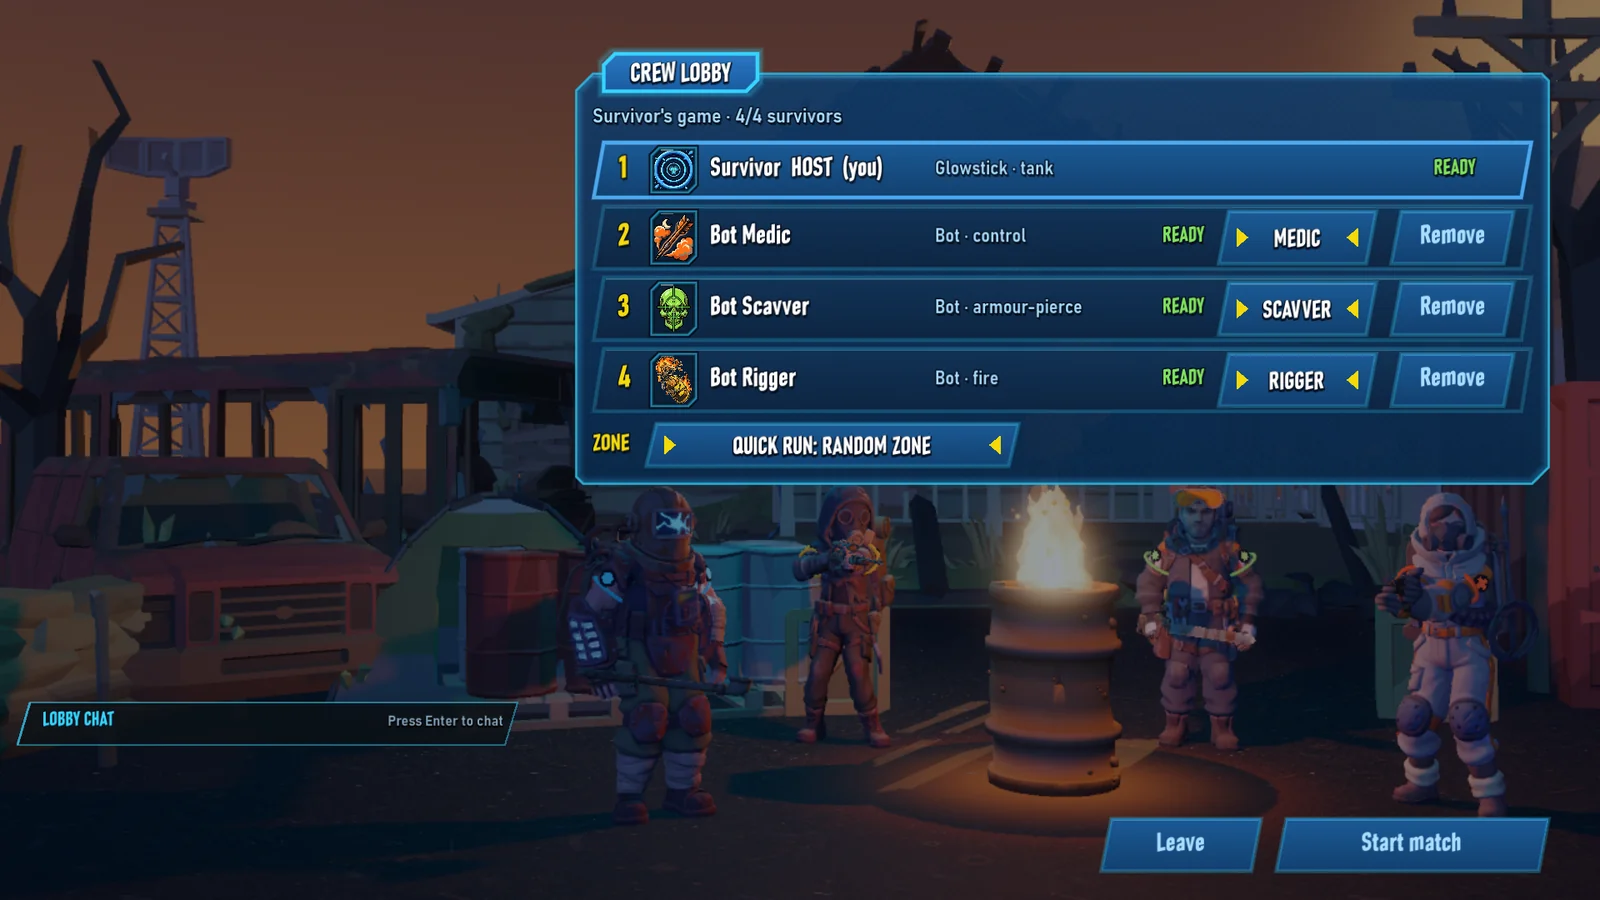
Short a friend? Fill the seat with a bot and pick its class. Bots follow the crew, use their skills, heal allies, revive the downed and stand on the beacon when it's time to go. They even talk in party chat. Friends can still drop into a free seat mid-run, so leave one open if someone's on the way.
See it for yourself
The Bible only shows you the edges. The rest you find out in a run, with friends, under a green sky.